About this deal
After the design has fully adhered, remove the iron and let the fabric cool down completely. This will allow the adhesive to set properly. You can use your Cricut Explore, Cricut Maker, or other cutting machine with printing/cutting capabilities to cut around the edge of your design. (Note that a Cricut Joy does not do Print then Cut.) If the design is simple enough, though, you can even use scissors and skip the cutting machine step entirely! What Type of Printable Iron On is the Best? Start by setting up your heat press machine according to the manufacturer’s instructions. This includes adjusting the temperature, pressure, and time settings based on the type of iron on printer paper you are using. If you’re looking for a more professional and precise method, using a heat press machine is the way to go. Heat press machines provide consistent heat and pressure, ensuring a high-quality transfer. Here’s a step-by-step guide on how to use a heat press machine for iron on printer paper: To ensure the best possible outcome for your iron on transfer, here are some valuable tips to keep in mind:
Now that your fabric is prepared, it’s time to print your design onto the iron on printer paper. Here’s how to do it: I have found that the “smoother” the material, the better the transfer. For example, a cotton onesie works better than a tote bag with a wide canvas weave. But with such a wide variety of printable iron on brands and an even wider number of possible blanks, you can find what works for you. Use gentle cycle and cold water: When washing your garments with iron on prints, opt for a gentle cycle and cold water setting. This will prevent any damage to the design caused by harsh agitation or hot water.Heat method: Applying heat can help loosen the adhesive of the iron on design. Place a cloth over the design and use a hot iron (set to a low heat setting) to heat the area. As the adhesive softens, gently peel off the design. Mirror the Design: One important step when printing on iron on printer paper is mirroring the design. This means flipping the image horizontally before printing. Mirroring is necessary because when you transfer the design onto the fabric, it will be facing the correct way. Most image editing software and printer settings offer an option to mirror or flip the design. Wash and Dry Carefully: After the transfer has been applied, it’s important to follow the washing and drying guidelines provided by the iron on printer paper manufacturer. Typically, it is recommended to wash the fabric inside out using a gentle cycle and cold water. Avoid using bleach or harsh detergents that may damage the transfer. When drying, air drying or using a low heat setting on a dryer is usually recommended to prolong the life of the design.
If you are using a Cricut, you are limited to 9.25″ x 6.75″. I know that other machines, like the Silhouette Cameo, have a larger area, though I haven’t tried it. Learn more about print then cut. How are Printable Iron On Vinyl and Printable Vinyl Different? In this case, I ended up making my image 9.25″ tall, the maximum size for print then cut, but obviously, you’ll need to resize to fit your blank. Design not adhering properly: If the design is not fully adhering to the fabric, try applying more pressure during ironing or increasing the temperature and pressure settings on your heat press machine. Additionally, make sure that the fabric is clean and free from any residue that may hinder adhesion.When working with most Cricut materials, I always suggest using an SVG file. But with printable iron on, you can easily use PNG and JPG as well—which are normally more difficult to work with when using a Cricut. Just upload your image, print, then cut as show below. What Types of Blanks Work with Printable Iron On?
If you ever need to remove an iron on printer paper design, there are a few methods you can try. Here are some options for safely removing the design: Rubbing alcohol method: Moisten a cotton ball or cloth with rubbing alcohol and dab it onto the design. Let it sit for a few minutes to allow the alcohol to penetrate the adhesive. Then, gently rub the design with the cotton ball or cloth to peel it off. Wash the Fabric: Begin by washing the fabric you plan to use for your project. This will help remove any dirt, chemicals, or sizing from the fabric that may interfere with the transfer process. Make sure to use a mild detergent and follow the fabric care instructions.Create your own transfer. Find or create an image you want to use for your transfer. You can scan an image into your computer, find one on the internet, or create one in a software program. For example, you can scan an image of your child's artwork to your computer, print it out on transfer paper, and transfer the image of the artwork to a t-shirt. Or, you can use applications like Photoshop to create a new and unique image yourself, print it on transfer paper, and transfer that image to some other type of fabric. However, there is one additional step when using dark fabric transfer paper. Before transferring the design, you’ll need to apply a special adhesive powder to the printed side of the design. This powder helps to enhance the opacity and vibrancy of the design when transferred onto dark fabrics. It’s crucial to buy the right type of iron-on transfer paper for the type of printer you’ll be using. Most iron-on transfer paper sheets are made for use with inkjet printers. However, if you don’t have an inkjet printer and have a laser printer instead, look for laser-printer-compatible iron-on transfer paper. These are harder to come by than their inkjet counterparts, but they do exist! A common mistake (and an expensive one due to the cost of the paper) is not reversing the image prior to the transfer process where necessary. When using light transfer paper you must reverse the image and print it in mirror mode. The image is placed face down on the garment and when the transfer process is complete, it will appear the right way round.
Remember to test these methods on a small, inconspicuous area of the fabric first to ensure they do not damage or discolor the material. If in doubt, seek professional assistance to remove the design without causing harm to your garment. Once the heat press machine is heated, place the design on the fabric with the printed side facing down. Ensure proper alignment and positioning. If you are looking for information on how to use iron on transfer paper we have put together this handy guide that summarizes some of the information on the subject. Once the timer goes off, lift the heat press machine and carefully remove the fabric. Be cautious as it will be hot.
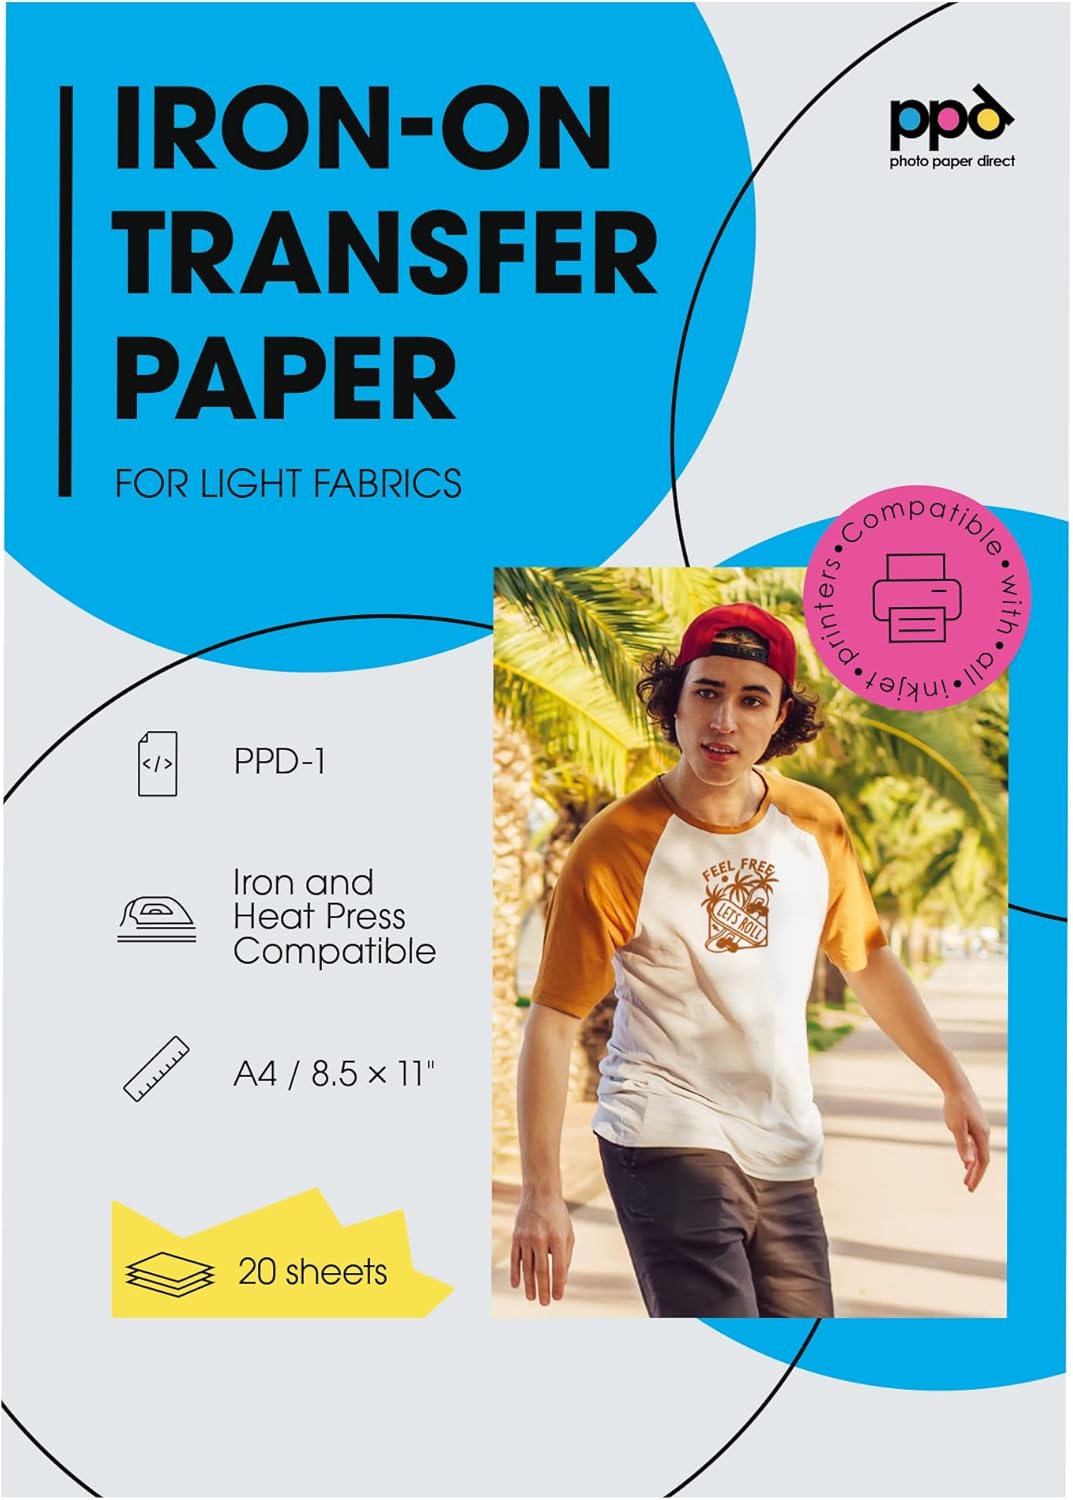
Choosing the Right Iron on Printer Paper
Finally, you’ll need to resize your image to fit on your shirt. I like using templates when making shirts—they help me determine how big my image should be. You can learn more about Using Templates in Design Space. One of the best things about printable vinyl is that the sky is the limit when you’re deciding on a design, since you are limited to the colors of iron on vinyl you have on hand. You can make projects with beautiful, multi-colored images, like this: Once you have the appropriate paper, you need to prepare the design or image that you want to transfer onto the fabric. This can be done using graphic design software or by simply selecting an image from your computer. Turn the garment inside out: Before washing, always turn the garment inside out. This will protect the design from friction and rubbing against other clothes or the washing machine drum. While iron on printer paper designs are durable, their longevity can be affected by various factors. Here are some to extend the lifespan of your prints and prevent fading:
 Great Deal